
Become an Organizer

1: Registration
Do you meet our criteria and community guidelines for organizers on the platform? Read more here:
https://www.kulturensfrivillige.dk/en/for-arrangører#bliv-arrangør
→ If so, you’re ready to create your organization on the platform:
Go to the platform → Select Organizers → Select “Become an Organizer”
https://portal.kulturensfrivillige.dk/en/become-organizer
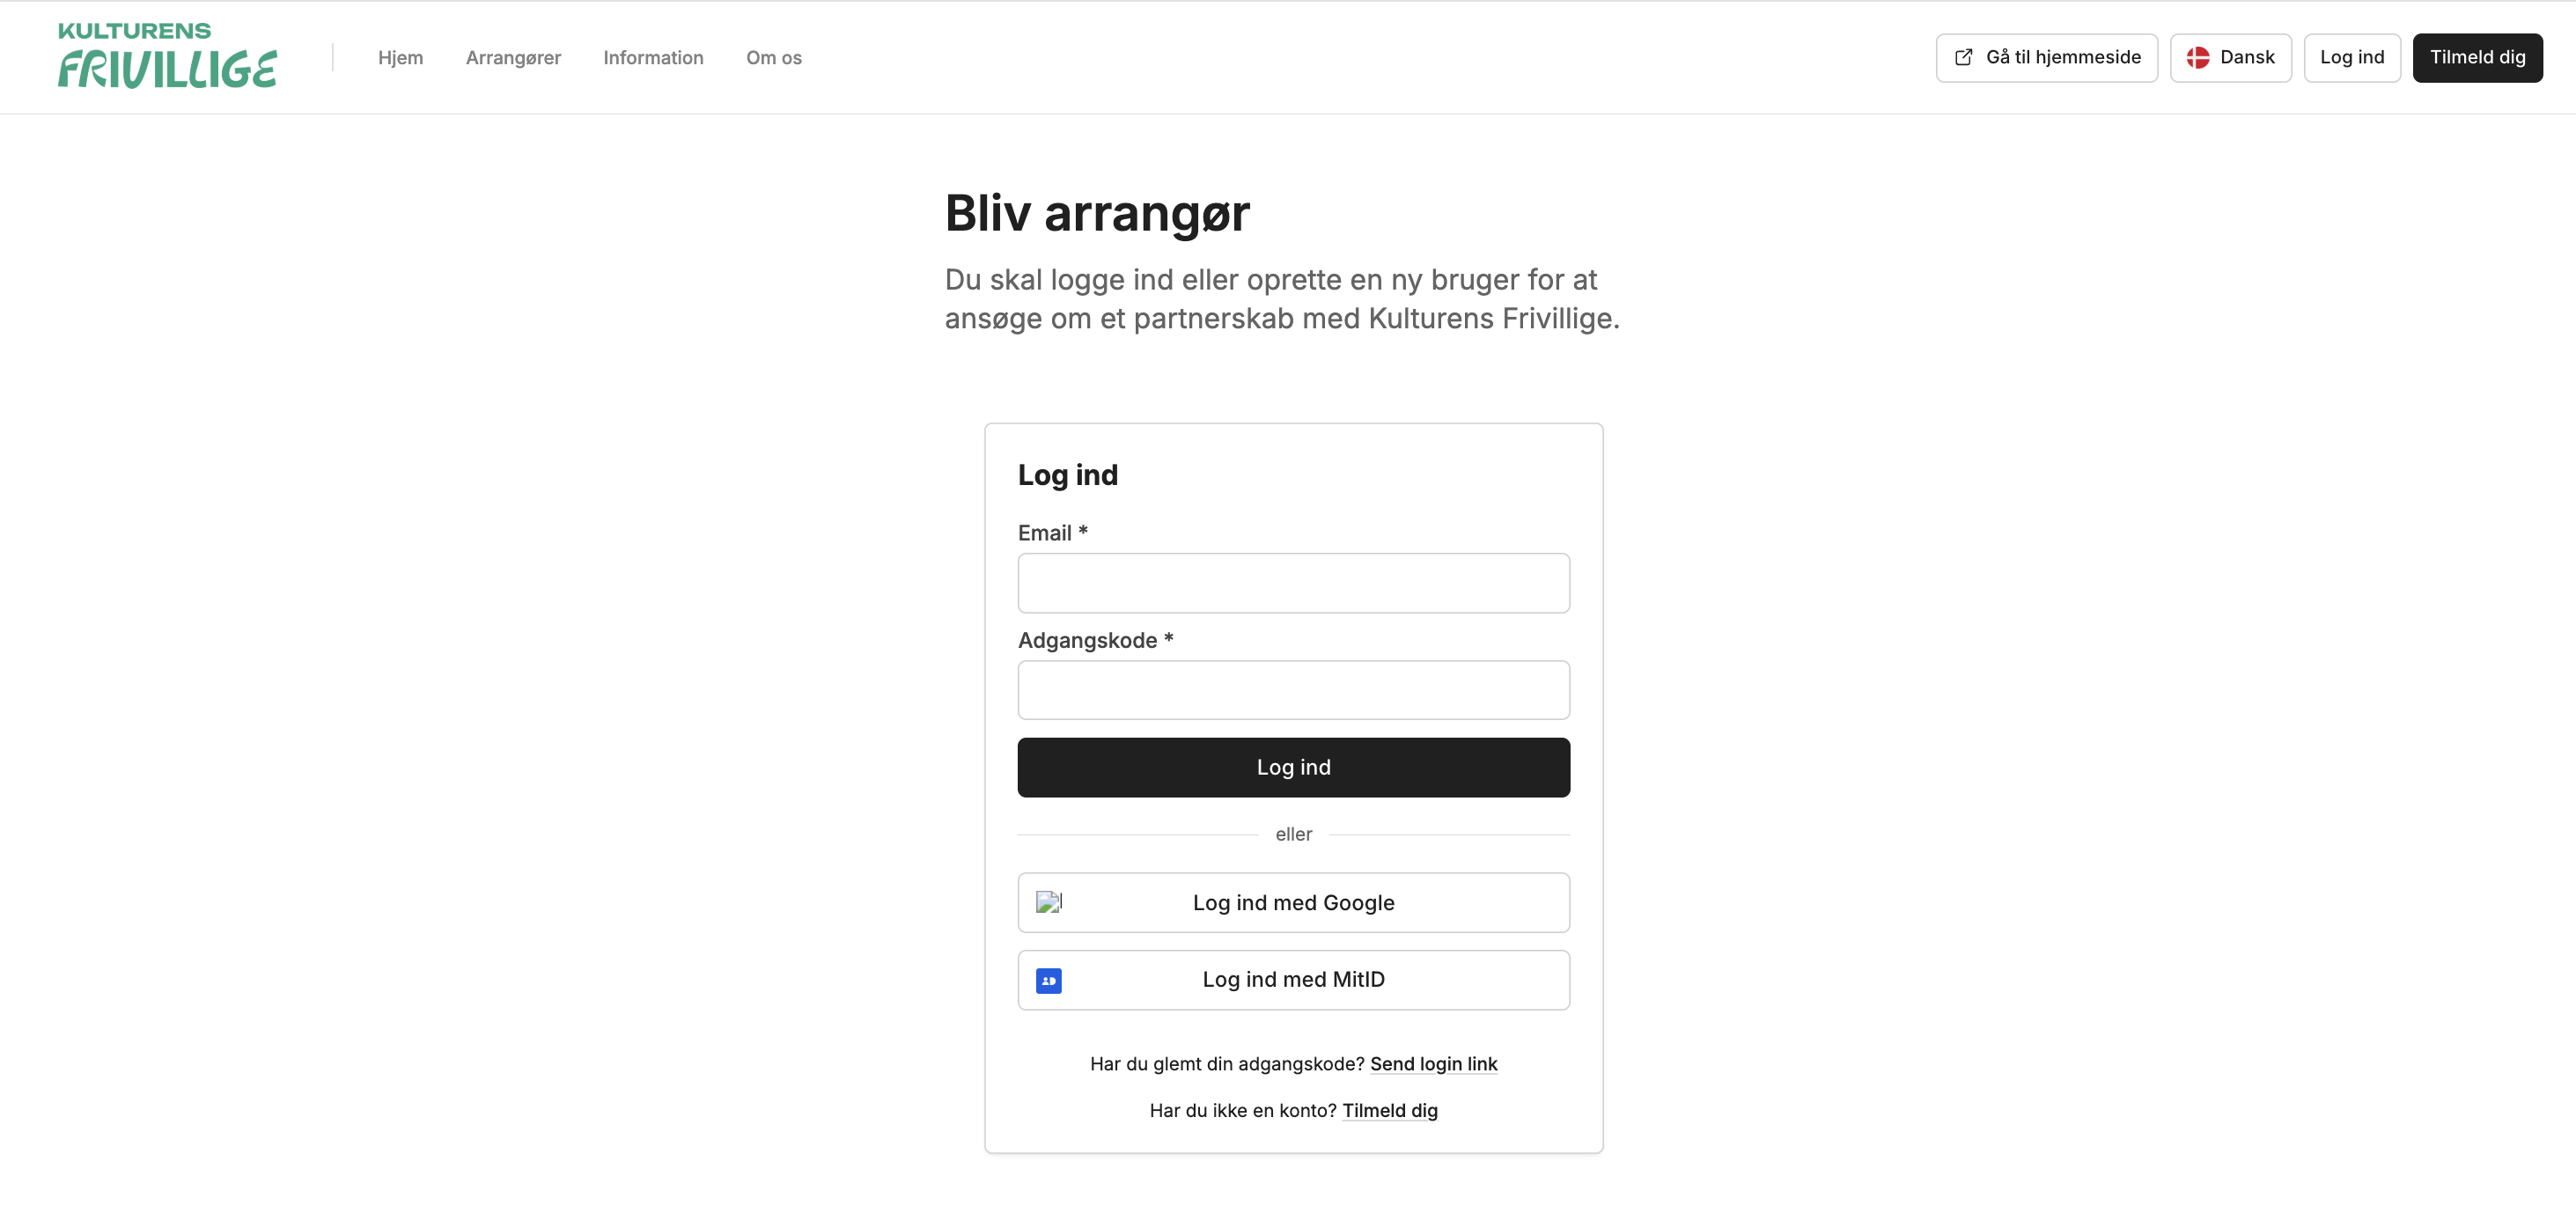
2a) Have you used the platform before?
If so, log in with your personal account and then create your organization page.
2b) Is this your first time using the platform?
Then choose “Sign up” at the bottom of the page instead. Enter the required information and you’ll receive a personal link via email to complete your registration.
Please note: All users of the platform must have a personal account. This means you should register your user profile under your own name — not your organization’s.
3) Once you've entered your personal user information, you can create your organization.
Tip: The user profile that creates the organization will be listed as the primary administrator on the organization’s profile moving forward. Therefore, it's a good idea to choose a person and email address that will remain consistent over time.
Additional users can later be added as secondary administrators and volunteer coordinators on the organization’s user page.
4) Information
Please note: When entering your organization’s profile information, this information will be publicly displayed on your organization’s page on the platform
It’s worth taking the time to carefully present your organization. Below are some tips and guidelines:
A name: This is the name of the organization arranging one or more events. If your organization and event share the same name, you can clarify this in the name – e.g., “The Summer Festival Group” or “Summer Festival Organizer Group.”
Short description: A brief summary of your organization as an event organizer.
Example: “Organizer of the Summer Festival, which welcomes 15,000 guests annually.”
Note: Maximum 80 characters.A cover image: This image will appear on your organization’s profile page and in the general organizer overview. Choose a visual that stands out and provides immediate recognition.
About us: A longer text explaining who you are and what you do. You can include descriptions of your core activities, your values and goals for volunteering, and how you involve volunteers.
Pro tip: Remember that the platform is aimed at volunteers. Your content should therefore differ from your audience-facing messaging and clearly highlight the value of volunteering with your organization. This section is your communication channel to both current and potential volunteers, so it should be informative and appealing.
Since the platform is available in both Danish and English, we recommend that write your description in both languages.
Once all required information is filled in, your organization application will be sent to Kulturens Frivillige for approval.
2: Presentation
Once your organization is approved, you’ll receive a confirmation email. You can now access your organization by logging in to your personal account, clicking your profile icon in the top right corner, and selecting “My Organizations.”
After logging into your organization’s profile, it’s time to complete your presentation.
Once logged in, you’ll land on your organization overview. Here you’ll be able to:
Track volunteer shifts
View and engage in requests and activity in your volunteer groups
Read and answer chat messages, and more.
You’ll also have access to all functions via the menu on the left. You can customize this menu via “Pages” at the bottom, where you can manage which shortcuts are displayed.
From your overview, click the button “Edit organization profile.”
From there, you can:
Upload a logo and icon
Preview how your profile appears on the platform's front page
Then click “Information” at the top of the page and verify that the organization’s contact person is up to date. This person will be shown publicly on your profile and should be the main point of contact for potential volunteers.
If you need to invite more administrators to your organization:
Select “Users” from the left-hand menu
Click “Invite user” in the top right corner
Invite your team members and assign their roles
You are now ready to create events, tasks, groups, and much more.